

Yesterday I posted my "make it, gift it" DIY button rings that I made for a Holiday Gift Swap. Today I am sharing my recipe for the The Great Food Blogger's Cookie Swap from Love and Olive Oil and The Little Kitchen.
I wanted to make a family recipe, one given to my grandmother from her friend and my mother's godmother. This recipe goes by many names, but the one most appropriate for the season is Snowballs. They are also called Viennese Crescents when shaped slightly differently and Mexican Wedding Cookies when made with vanilla in place of the almond extract. I think the almond gives them a great not-too-sweet flavor.
 |
| [The dough] |
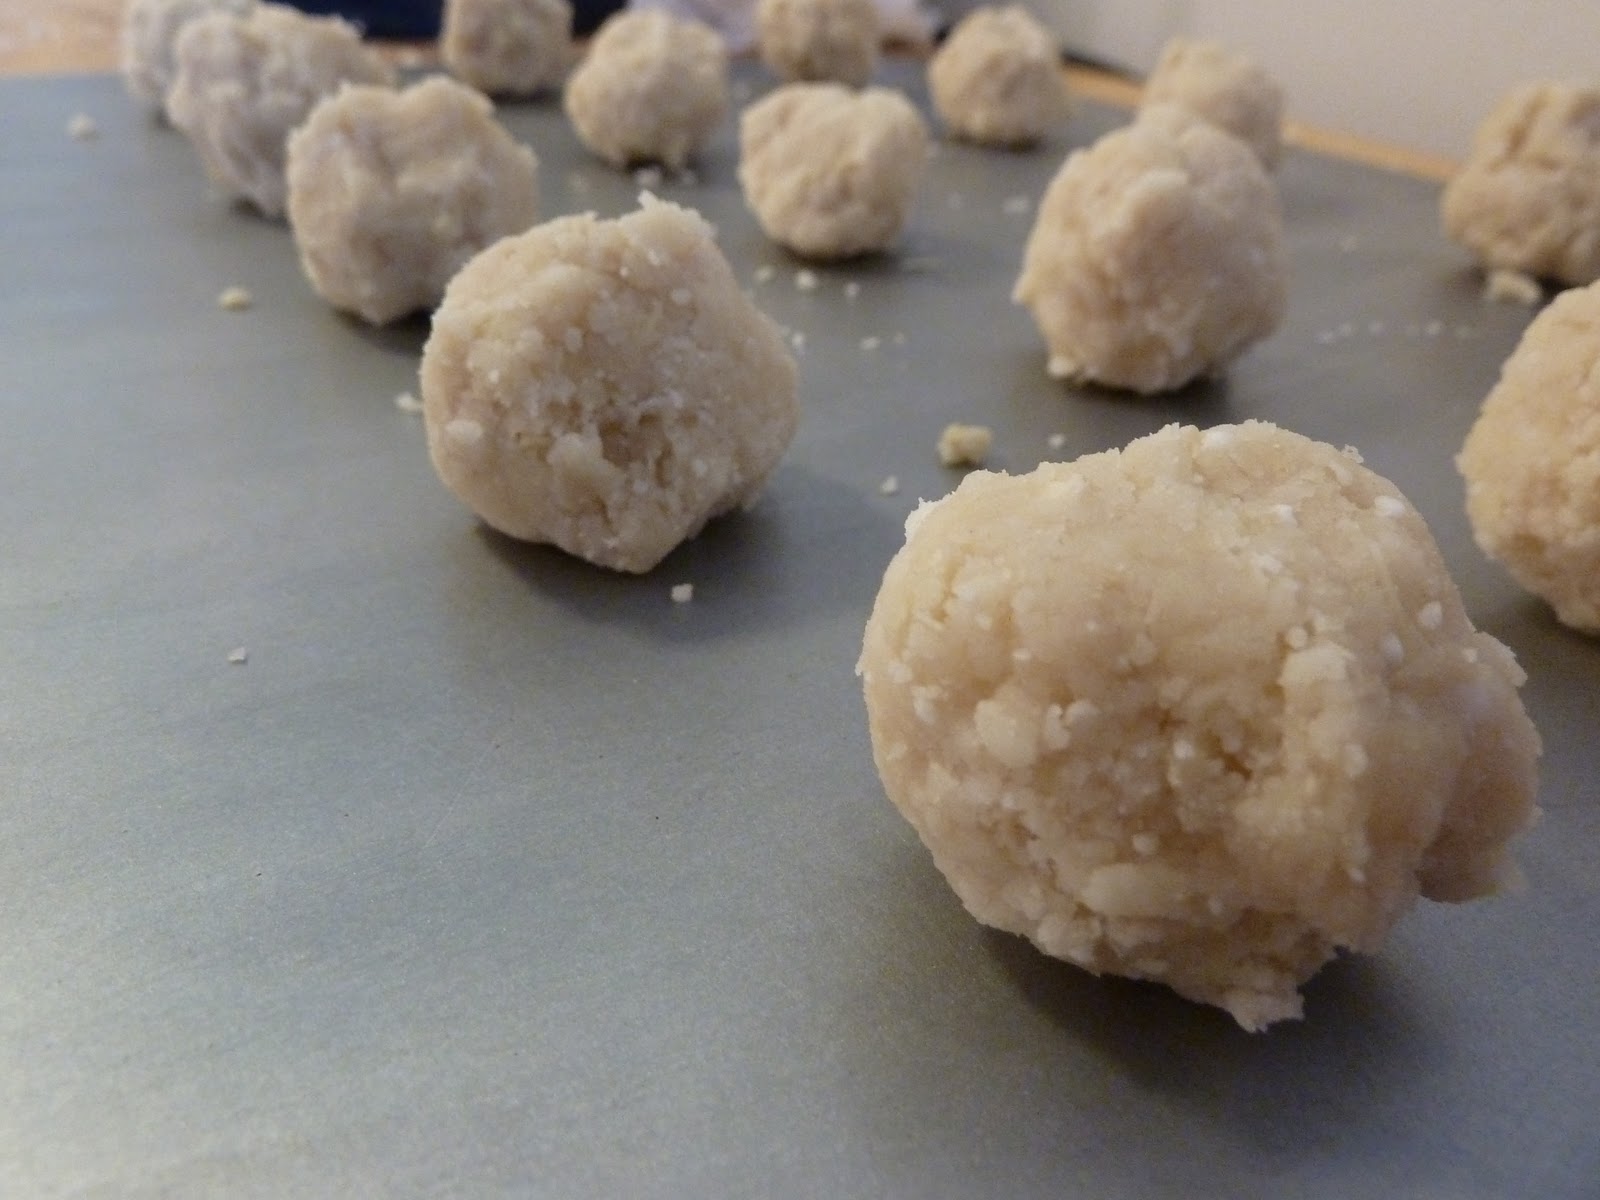 |
| [Before baking] |
 |
| [Cookies just out of the oven] |
Snowballs
½ cup butter, softened
¼ cup confectioners’ sugar
1 cup all-purpose flour
1 tsp. almond extract
¼ tsp. salt
½ cup blanched slivered almonds, ground
Mix all ingredients together. Shape into small balls, about 2-4 bites per cookie. These do not rise or change shape, so you can fit about 20 on a baking sheet. Bake at 325 degrees on greased cookie sheet for 20-22 minutes. When mostly cooled, roll in conf. sugar before serving.
Yield:18 cookies
Recipe is easily doubled. Cookie size can also be reduced, decrease baking time accordingly. Yield:18 cookies
 |
| [Ready to coat in powdered sugar] |
 |
| [All done!] |


