
Here is this week's collection of interesting design, intriguing concepts and delightful images.
Cinemascapes: The Google Street View Edition. “Photographs” created online via The Fox Is Black
Scenes of Life by Lucie & Simon via Miss Moss
Map Sculptures of Cities Made from Books About Each City via Brain Pickings
Instead of using wood as a source to make paper, NewspaperWood uses the paper to make wood via Design Milk
Pine cone structure plays with line between nature and architecture via design boom
Enjoy these? Find more daily at percentblog.tumblr.com. And even more stunning images on my pintrest.
Sunday, December 18, 2011
Thursday, December 15, 2011
design intervention: doing it right
 |
| [Santa Marta community, Rio de Janeiro, image from Favela Painting] |
I love the colorful buildings of artistic team Haas & Hann's projects. The duo's favela project, originally conceived in Brazil, pays local youth to paint buildings vivid shades. I love that the project is "not about cosmetically 'camouflaging' an area, but rather rejuvenating deprived areas of a city and creating a positive social effect on the general district at hand." I was first introduced to the pair's work on Apartment Therapy when in an article titled "Should New York Go Neon?" The proposed images of New York were thrilling to me, but the article and the idea struck me as misguided. The proposal of an unsolicited "intervention" in lower Manhattan from a pair of designers from outside the United States lacked the community input I think is necessary for a project to be truly uplifting instead of just aesthetically pleasing. And while they certainty are pleasing to me, many may find the colors an eyesore especially without community consultation and buy-in.
 |
| [Proposed NYC project, image from Apartment Therapy] |
Tonight I took the time to look at the Favela Painting website in more depth. There were things that heartened me, such as the education in painting skills and safety the local youth received, which can serve as job training. Additionally, "inside of the sambaschool was painted in [the area's] traditional colors"
While of course there are many other improvements that could be made to those communities (either in Brazil or New York,) even small physical appearance changes can have a very positive affect. The Favela Project was started in 2006 in Brazil where the Dutch team works and lives, and the New York proposal was more of a creative design exercise than true proposal. I would hope a team that has had such successful projects in the past understand the important of community in the design process should such a project actually move forward. What works in one community does not translate to all communities, especially if the similarity in the communities is largely on of economic status or political power instead of culture and identity. I encourage Haas & Haan to continue the painting project in Brazil if it as welcome in the community as my google-ing suggests but to think deeper about ways to bring the same joy to other cities.
What do you think are best practices for community-based design?
 |
| [Painters at work in Rio, image from Favela Painting] |
Monday, December 12, 2011
belated tumblights 12/12
A quick post of tumblights and then back to your regularly scheduled holiday programming...
I Love Stripes by Daphne van den Heuvel via Mocoloco
St Petersburg pier nominee designed to weather storm surges, climate change via design boom
Temporary Trees- performance photography by Raw Color and MKGKvia Inhabitat
Tantra Song: Rare 17th-Century Indian Paintings That Look Like 20th-Century Western Art via Brain Pickings
Enjoy these? Find more daily at percentblog.tumblr.com. And even more stunning images on my pintrest.
Friday, December 9, 2011
bake it, gift it: snowball cookie recipe

Yesterday I posted my "make it, gift it" DIY button rings that I made for a Holiday Gift Swap. Today I am sharing my recipe for the The Great Food Blogger's Cookie Swap from Love and Olive Oil and The Little Kitchen.
I wanted to make a family recipe, one given to my grandmother from her friend and my mother's godmother. This recipe goes by many names, but the one most appropriate for the season is Snowballs. They are also called Viennese Crescents when shaped slightly differently and Mexican Wedding Cookies when made with vanilla in place of the almond extract. I think the almond gives them a great not-too-sweet flavor.
 |
| [The dough] |
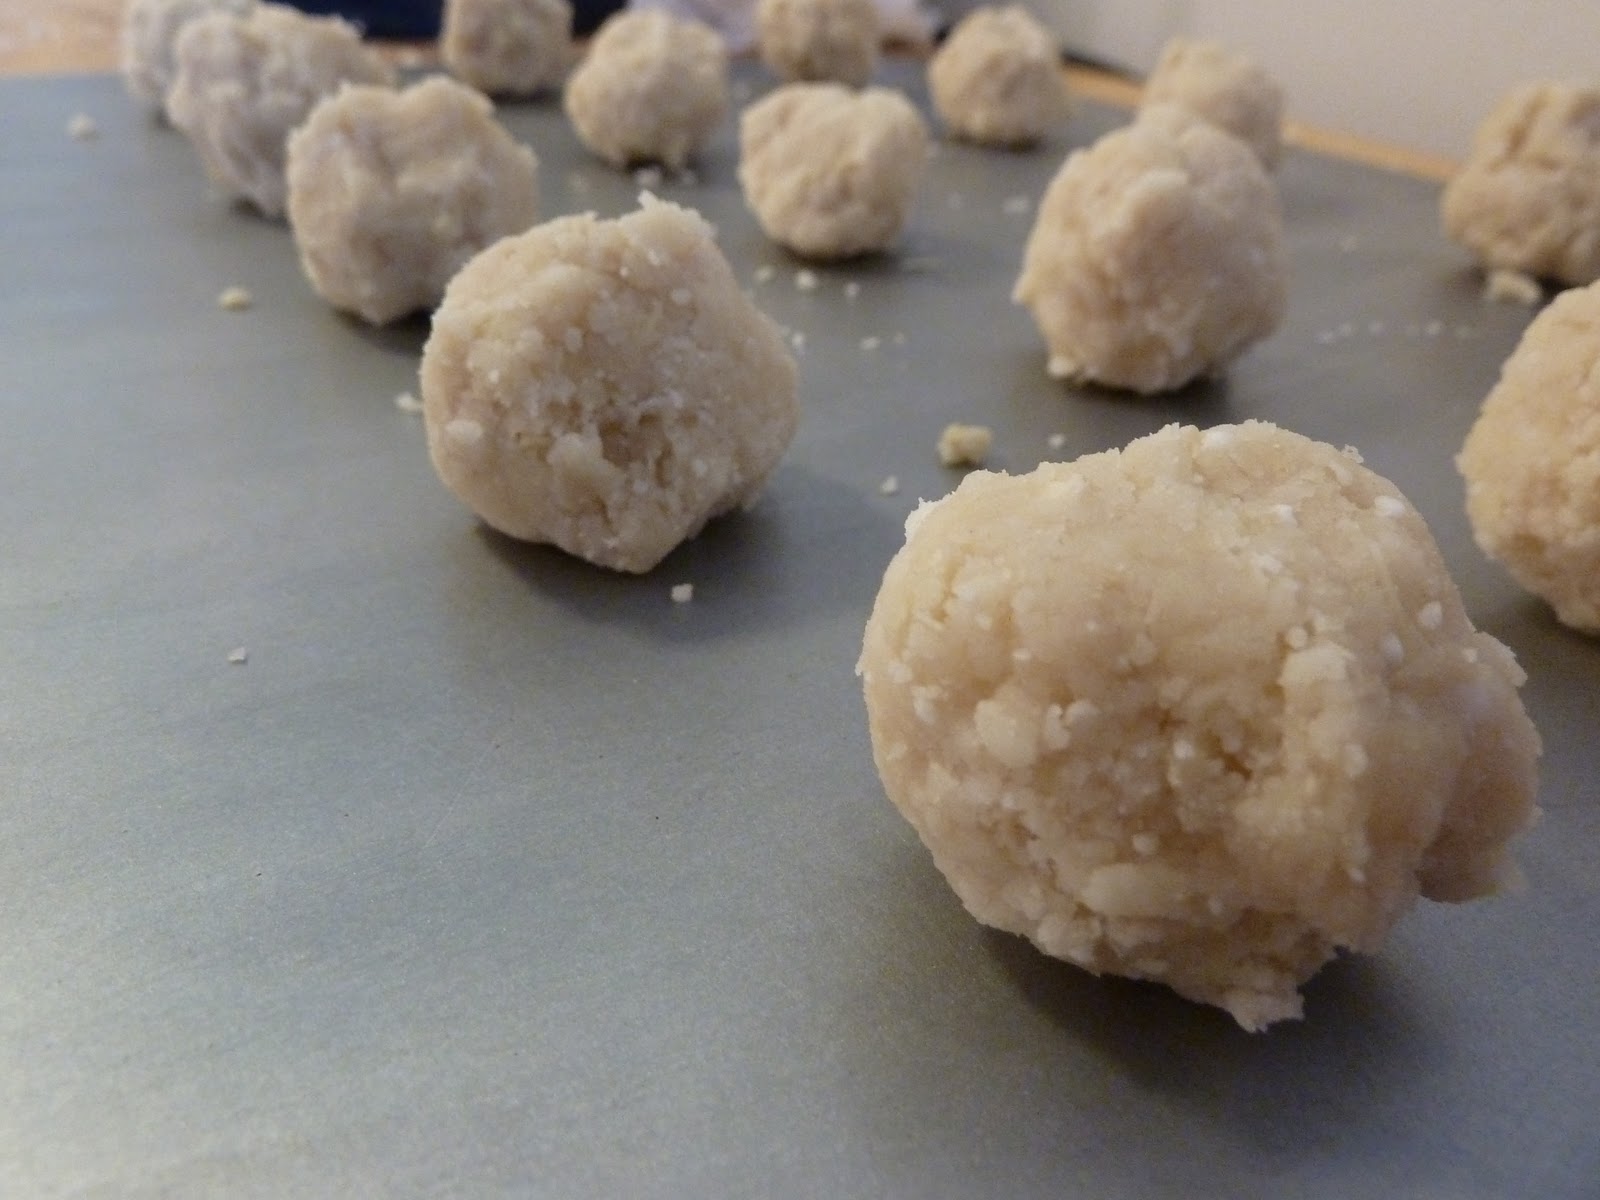 |
| [Before baking] |
 |
| [Cookies just out of the oven] |
Snowballs
½ cup butter, softened
¼ cup confectioners’ sugar
1 cup all-purpose flour
1 tsp. almond extract
¼ tsp. salt
½ cup blanched slivered almonds, ground
Mix all ingredients together. Shape into small balls, about 2-4 bites per cookie. These do not rise or change shape, so you can fit about 20 on a baking sheet. Bake at 325 degrees on greased cookie sheet for 20-22 minutes. When mostly cooled, roll in conf. sugar before serving.
Yield:18 cookies
Recipe is easily doubled. Cookie size can also be reduced, decrease baking time accordingly. Yield:18 cookies
 |
| [Ready to coat in powdered sugar] |
 |
| [All done!] |
Thursday, December 8, 2011
make it, gift it: DIY button ring
 |
| [Vintage button collection] |
A few weeks ago I posted my excitement about participating in the Great Food Bloggers Cookie Swap and the Holiday Gift Swap, both organized by some awesome bloggers. The deadline for mailing out treats for both was recently and I wanted to share what I created. Today I have a diy instructional for my gift- button rings.
I knew I wanted to make jewelry and making rings from vintage jewelry and buttons is an easy diy that anyone can do. To start, you need one or more buttons (or other bauble such as a rough gemstone, cocktail earring piece, etc) and a ring blank. Ring blanks are available at craft and bead stores.
 |
| [I decided to create a layered look with the large tortoise shell buttons and various small gold and colored buttons.] |
 |
| [You'll have to remove the back of the button if it doesn't lay flat. Use pliers and just work it back and forth.] |
 |
| [Use E-600 glue (from a hardware store) to secure the ring blank to the button. I added a strip of fabric, also glued down with E600 to add stability. If your ring blank has a large flat surface then this is not needed, but if your ring is only circular, like mine, then it is helpful. ] |
 | |
| [Your ring is ready! Here is what they looked like before being mailed.] |
 |
| [I added fun bows to the packaging, just because I love gifts.] |
Thank you so much Freshly Picked for putting together this awesome showcase of crafters! Over the past week, I've received adorable notecards, holiday coasters, and a necklace from a repurposed tie. I'm looking forward to the last few arrivals and to sharing my Great Cookie Swap recipe with you tomorrow.
Sunday, December 4, 2011
tumblights 12/3
Happy December, y'all. We had a gorgeously warm weekend here in the Bay, but last night definitely felt like winter. Here's this week's tumblights to warm you up.
Bicycle portraits, a book on the bike culture of South Africa via Design*Sponge
Take-away packaging by Casey Ng combines a paper bag top with a rigid carton for the base via Dezeen
Morse Code Blankets by Holly Berry via Design Milk
Ball point pen paintings by shane mcadams via design boom
Beaded heart- Jan Huling’s Mi Corazo via Lyons Wier Gallery found on pinterest
‘instruments of mass destruction' graffiti- rainbow warrior by akay via design boom
Enjoy these? Find more daily at percentblog.tumblr.com. And even more stunning images on my pintrest.
Subscribe to:
Posts (Atom)


