Friday, December 9, 2011

bake it, gift it: snowball cookie recipe


Yesterday I posted my "make it, gift it" DIY button rings that I made for a Holiday Gift Swap. Today I am sharing my recipe for the The Great Food Blogger's Cookie Swap from Love and Olive Oil and The Little Kitchen.

I wanted to make a family recipe, one given to my grandmother from her friend and my mother's godmother. This recipe goes by many names, but the one most appropriate for the season is Snowballs. They are also called Viennese Crescents when shaped slightly differently and Mexican Wedding Cookies when made with vanilla in place of the almond extract. I think the almond gives them a great not-too-sweet flavor. 

[The dough]
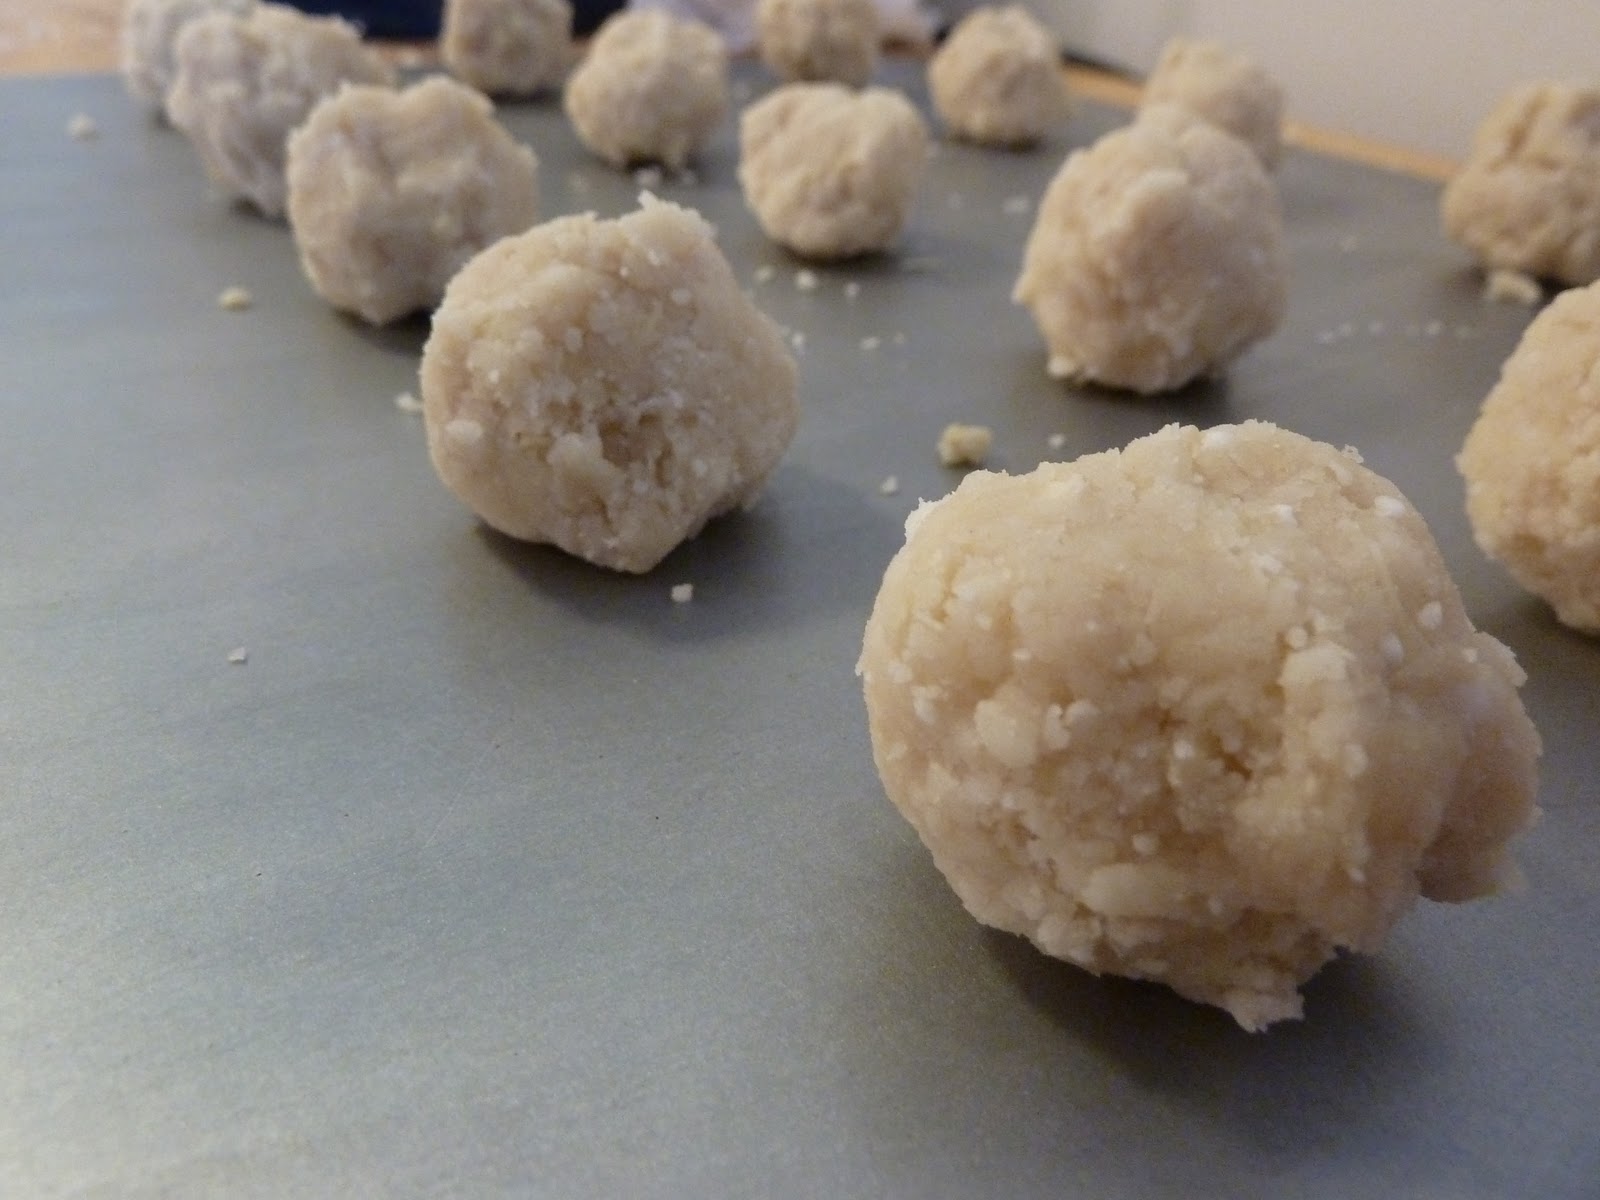
It's important to note that the dough is very very crumbly. You will be forming these with your hand and have to really squish the dough together. I was taking a fistful of crumbly dough to end up with the cookies you see below.

[Before baking]

[Cookies just out of the oven]

Snowballs
½ cup butter, softened
¼ cup confectioners’ sugar 
1 cup all-purpose flour 
1 tsp. almond extract 
¼ tsp. salt
½ cup blanched slivered almonds, ground

Mix all ingredients together.  Shape into small balls, about 2-4 bites per cookie. These do not rise or change shape, so you can fit about 20 on a baking sheet.  Bake at 325 degrees on greased cookie sheet for 20-22 minutes.  When mostly cooled, roll in conf. sugar before serving. 

Yield:18 cookies
Recipe is easily doubled. Cookie size can also be reduced, decrease baking time accordingly.  

[Ready to coat in powdered sugar]

[All done!]

Thursday, December 8, 2011

make it, gift it: DIY button ring

[Vintage button collection]

A few weeks ago I posted my excitement about participating in the Great Food Bloggers Cookie Swap and the Holiday Gift Swap, both organized by some awesome bloggers. The deadline for mailing out treats for both was recently and I wanted to share what I created. Today I have a diy instructional for my gift- button rings.

I knew I wanted to make jewelry and making rings from vintage jewelry and buttons is an easy diy that anyone can do. To start, you need one or more buttons (or other bauble such as a rough gemstone, cocktail earring piece, etc) and a ring blank. Ring blanks are available at craft and bead stores.  

[I decided to create a layered look with the large tortoise shell buttons and various small gold and colored buttons.]

[You'll have to remove the back of the button if it doesn't lay flat. Use pliers and just work it back and forth.]

[Use E-600 glue (from a hardware store) to secure the ring blank to the button. I added a strip of fabric, also glued down with E600 to add stability. If your ring blank has a large flat surface then this is not needed, but if your ring is only circular, like mine, then it is helpful. ]

[Your ring is ready! Here is what they looked like before being mailed.]
 
[I added fun bows to the packaging, just because I love gifts.]

Thank you so much Freshly Picked for putting together this awesome showcase of crafters! Over the past week, I've received adorable notecards, holiday coasters, and a necklace from a repurposed tie. I'm looking forward to the last few arrivals and to sharing my Great Cookie Swap recipe with you tomorrow.

Tuesday, November 29, 2011

how to: make a sparkly wreath in 2 minutes

And for basically $0.

Okay, definitely less than $2.

I started getting warm and fuzzy Christmas feelings, oh, a month ago. This was bad since I have a strict no carols/decorating until after Thanksgiving policy. It is now after Thanksgiving. But unlike my friend Lara and her amazing trove of Christmas treasures, I have no decorations. This is my first Christmas away from home where a) I am not in college or b) my roommates are not (undergrads) in college.

Nonetheless, I am inspired to start decorating. And today I made a wreath practically for free. How? First I started with a set of silver cupcake liners. These come with a silver liner and a white liner inside. At first, I thought, "how ridiculous!" Then I thought, "wonder if that's metal's toxic? yay for white liners!" So to make this wreath, in three easy steps.

Step one: gather your silver liners (before or after use; I went with after.) The number you use changes the size of your wreath, I used 13.


Step two: take one liner and flatten it.


Step three: Assemble in a circle and tape on the back. I just used Scotch tape. Use liberally, it won't be showing.


Okay, I guess there sort of is a step four.
Step four: Hang your wreath!

Tuesday, November 22, 2011

recipe: shrimp scampi with preserved lemon and fennel

Grocery shopping is a trip typically made together, with a few meals planned and a few thrown together later from whatever we have gathered. Last weekend I worked both days, so Partner-in-Crime set off to procure foodstuffs on his own. On a whim, he picked up a half pound of shrimp. We didn't have a recipe planned, so at 6pm on the night of their consumption (a week ago) we sat down on the computer to find a recipe, ultimately selecting one from Bon Appétit on Epicurious for Shrimp Scampi with Quick Preserved Lemon and Fennel on Polenta.


We lacked some ingredients, including the polenta. Instead of the amount of shallots listed, we used a combination of shallots and white onion that needed to be used quickly. Luckily, we had fennel for another recipe planned for later in the week and I frequently keep preserved lemons in the fridge, made using this method. This cream/fennel/lemon sauce is good enough to eat without the shrimp. I don't know why you would, unless you are serving a vegetarian or keeping kosher. (Which, if you are, cook the shrimp in an entirely separate skillet. Toss a bit of preserved lemon in the olive oil as you cook the shrimp and you are good to go.) Below is our adapted recipe.

Shrimp Scampi with Preserved Lemon and Fennel over Pasta
Ingredients:
1/2 lb pasta
1/2 shrimp
4 shallots, sliced thinly
1/4 white onion, diced
1 medium bulb fennel, halved and sliced thinly (about 1 cup)
1/2 preserved lemon peel, diced (about 4 teaspoons)
1/2 cup half and half (or cream)
 
[Preserved lemon, onion, shallots, fennel]

Peel and vein the shrimp. Note that prepping the shrimp will take the whole time it takes to cook pasta, so be sure to do this step first instead having your boyfriend do it while you make the pasta. Our pasta sat for a while waiting for the rest to be done. If this does happen to you, toss the pasta with olive oil.

After shrimp are ready, put the pasta on. Go for something long and stringy. We used standard spaghetti, linguine or fettuccine would be great too.

[After adding the cream]

Saute shrimp in olive oil over medium heat for 1 minute per side. Transfer to plate. Saute shallots, onion, fennel and lemon together, until fennel is tender, about 4 minutes. Add cream, bring to a boil briefly. Toss shrimp back in and cook until just opaque in the center. Serve over pasta.

[Tossing the shrimp in]